
Getting Started with EQUIPR CORE
From the login screen to your first job — a complete sign-up & onboarding walkthrough.
🎁 14-day free trial · No credit card required
From the login screen to your first job — a complete sign-up & onboarding walkthrough.
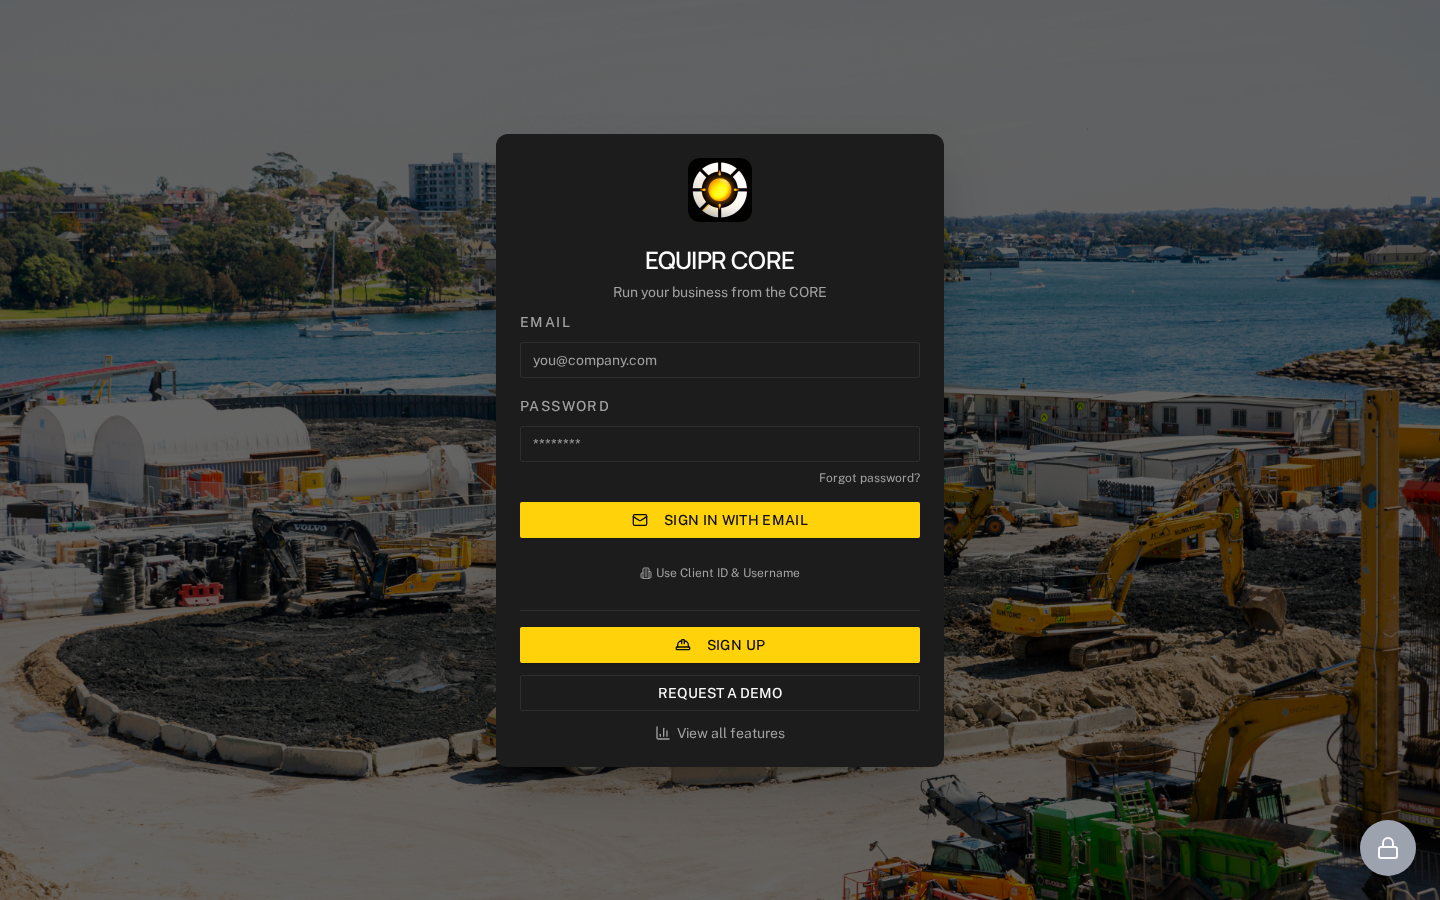
Email & Password — existing users sign in here.
Sign in with Email submits your login.
SIGN UP (yellow) — new clients click here to begin.
Forgot password? resets your password. Request a Demo for a guided setup.
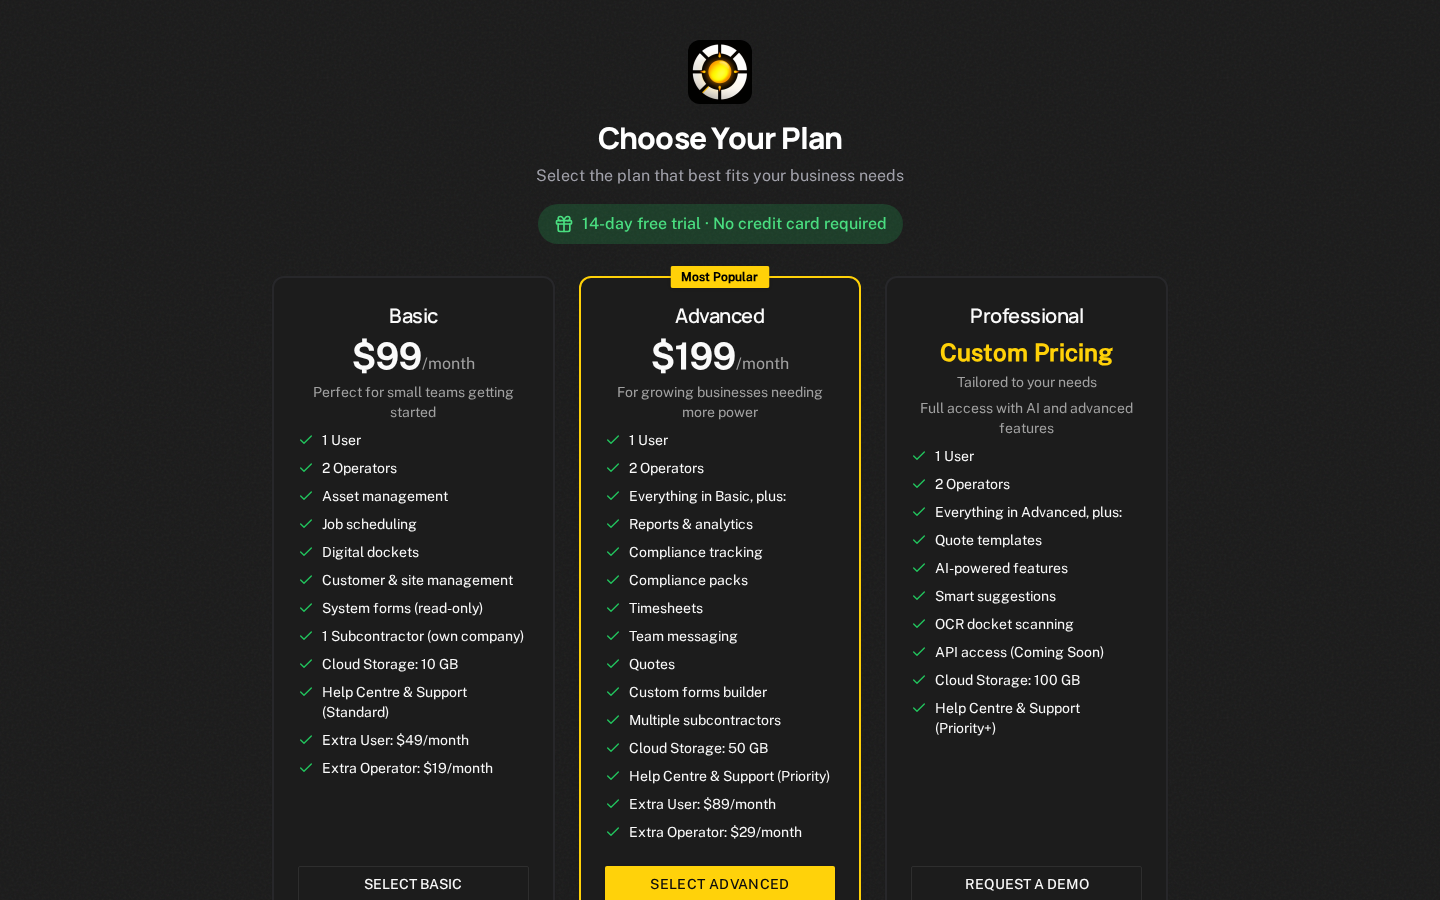
14-day free trial banner — no credit card needed.
Basic — for small teams getting started.
Advanced (Most Popular) — adds Reports, Compliance, Timesheets, Messaging, Quotes & Custom forms.
Professional — custom pricing & AI; click Request a Demo.
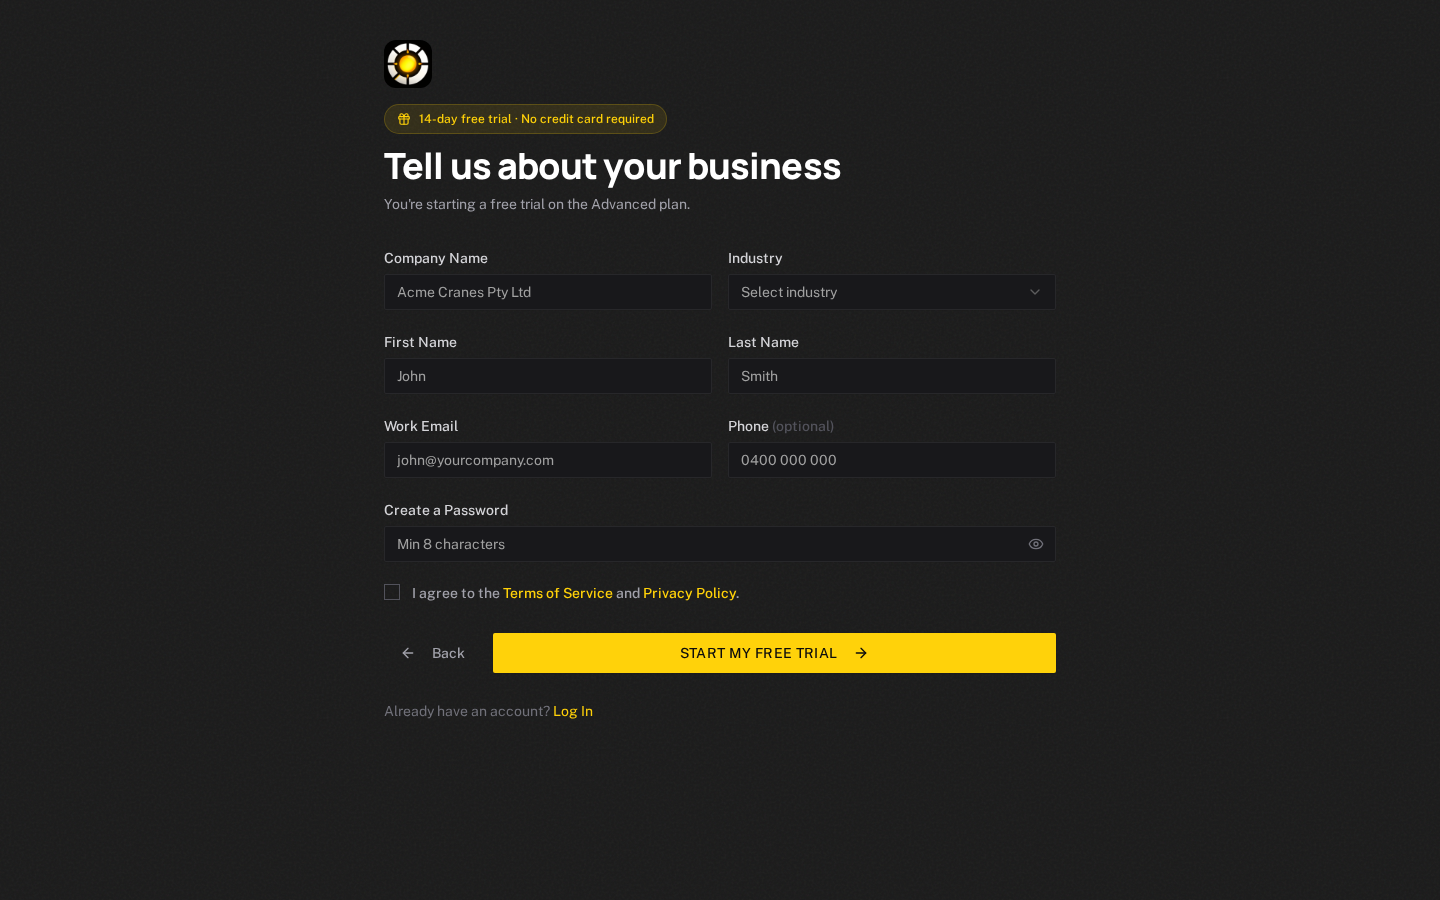
Company Name and Industry (Crane Hire, Earthmoving, Haulage, or Concrete Pumping).
First & Last name, Work Email (this becomes your login), and optional Phone.
Password — at least 8 characters and 1 number.
Tick Terms & Privacy, then click START MY FREE TRIAL.
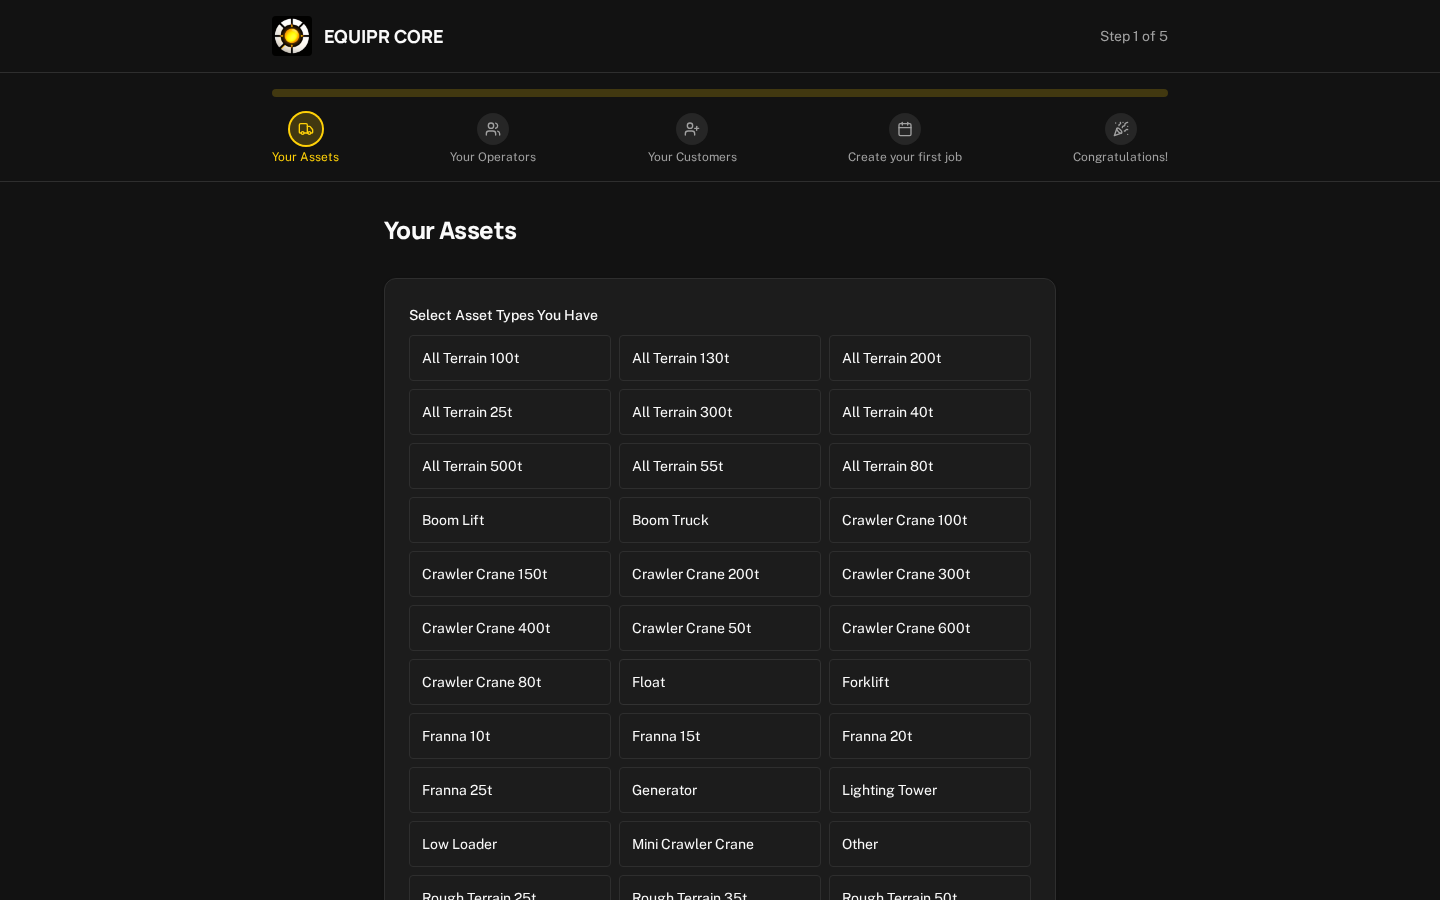
The progress bar shows the 5 setup steps.
Add custom asset type if yours isn't listed, then tap +.
Under Add Your Assets, pick a type and enter an Asset ID (e.g. CRANE-01).
Add Another Asset for more, then Next.
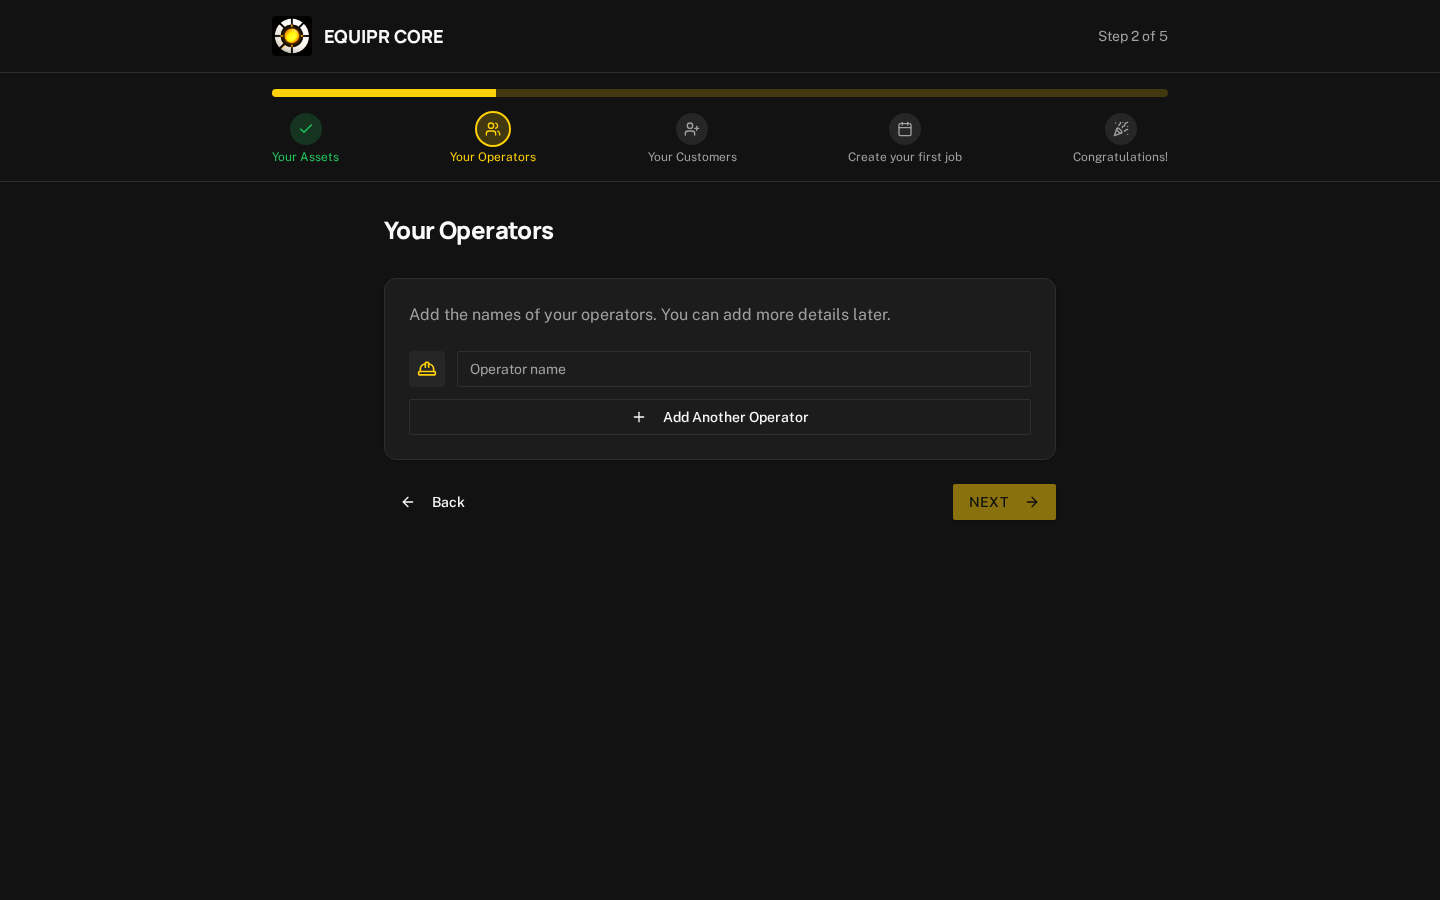
Type each operator / driver's name.
Add Another Operator to add the rest.
Click Next to continue. (You can add full details later.)
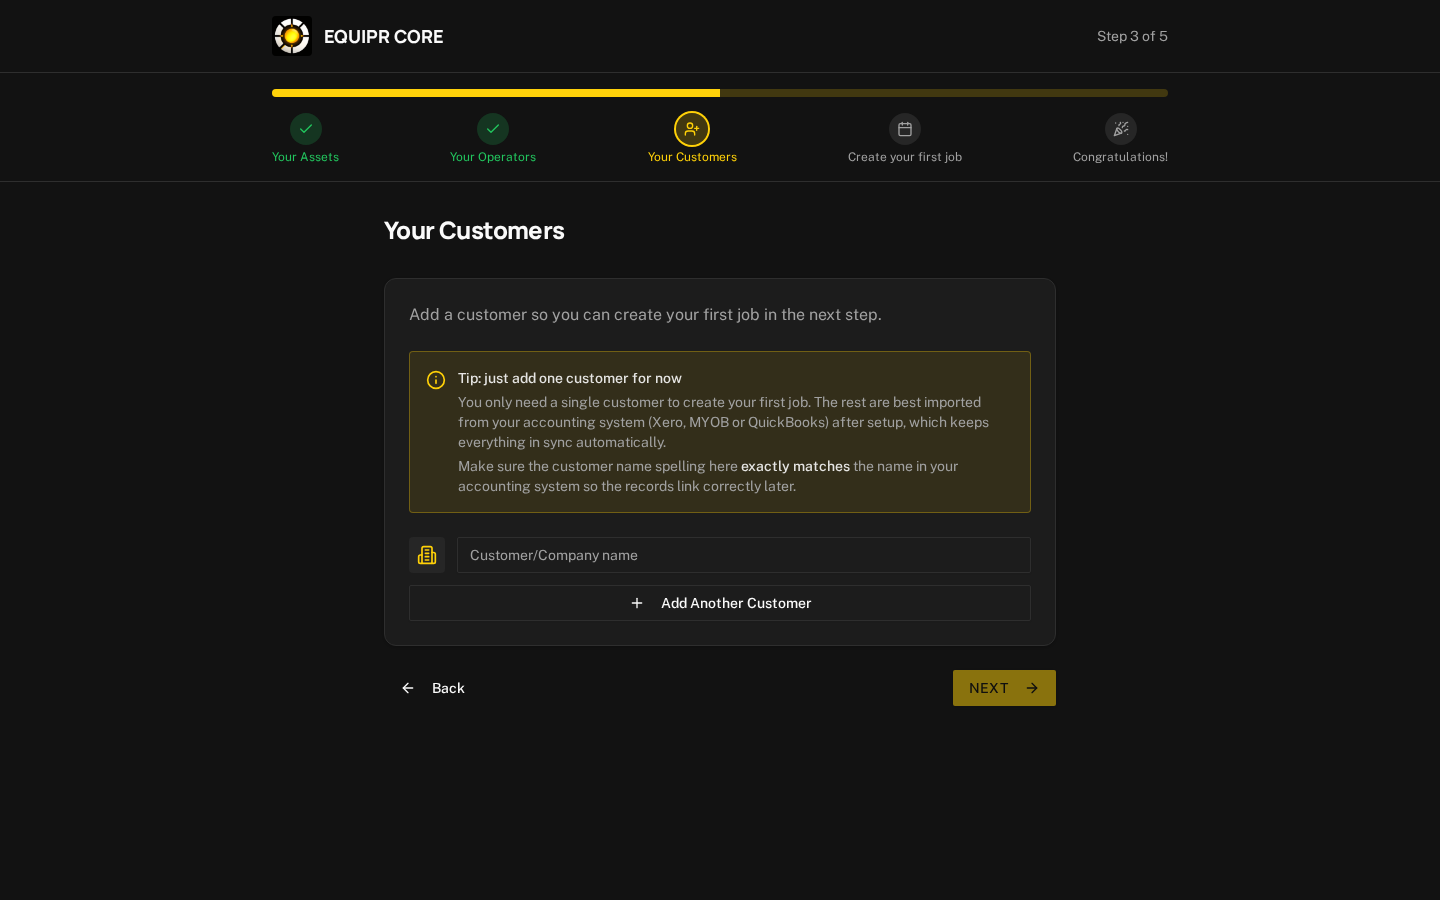
Add at least one customer so you can create your first job.
Tip: add just one for now — import the rest from Xero / MYOB / QuickBooks after setup.
Match the customer name spelling exactly to your accounting system so records link.
Click Next.
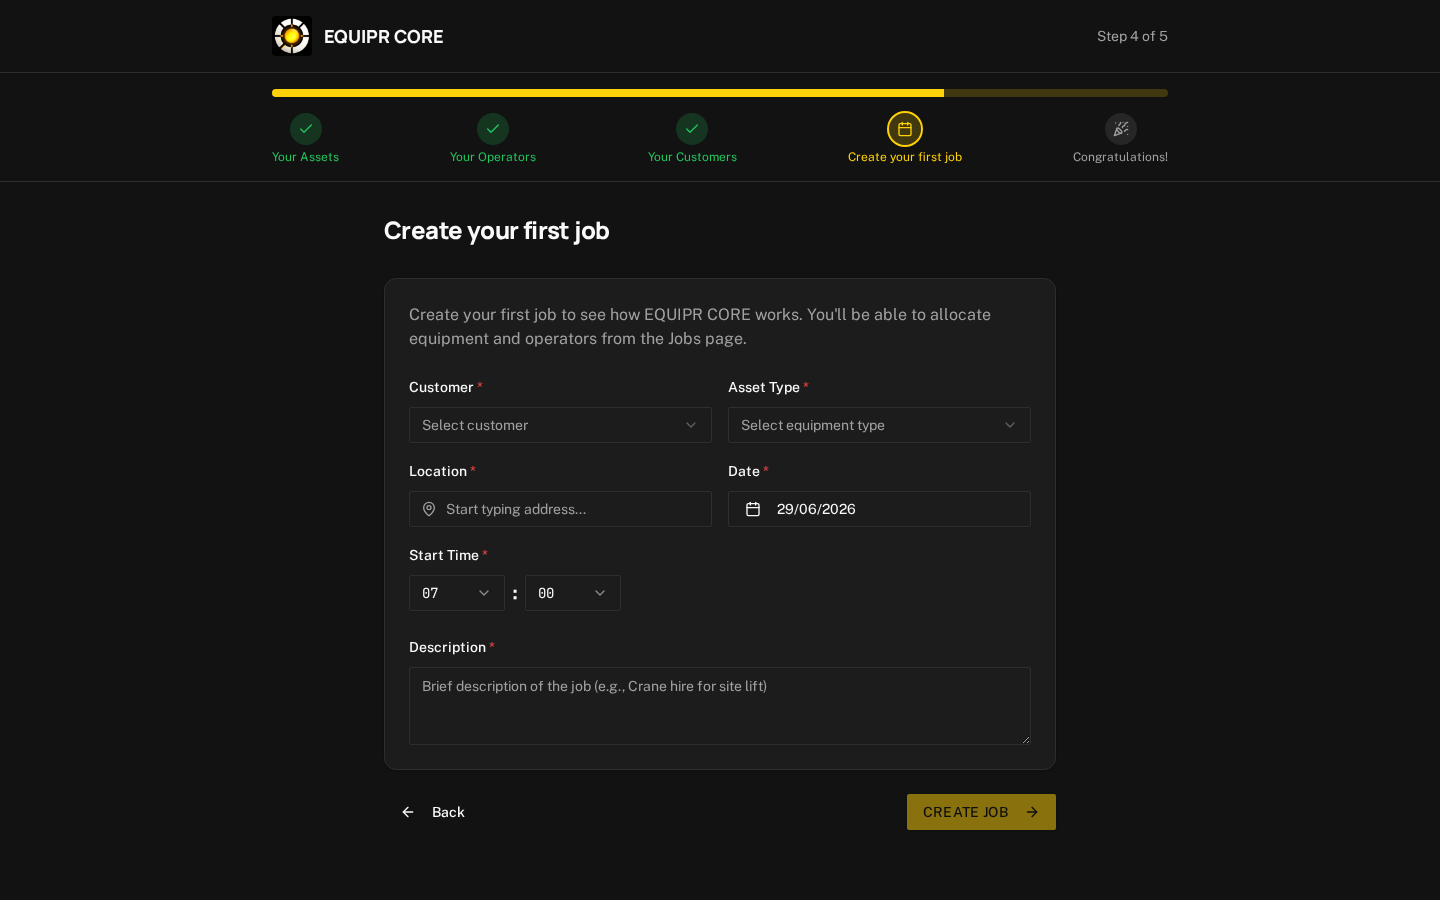
Customer and Asset Type (from what you just added).
Location — start typing the address and pick a suggestion.
Date (defaults to today) and Start Time.
Add a Description, then click CREATE JOB.
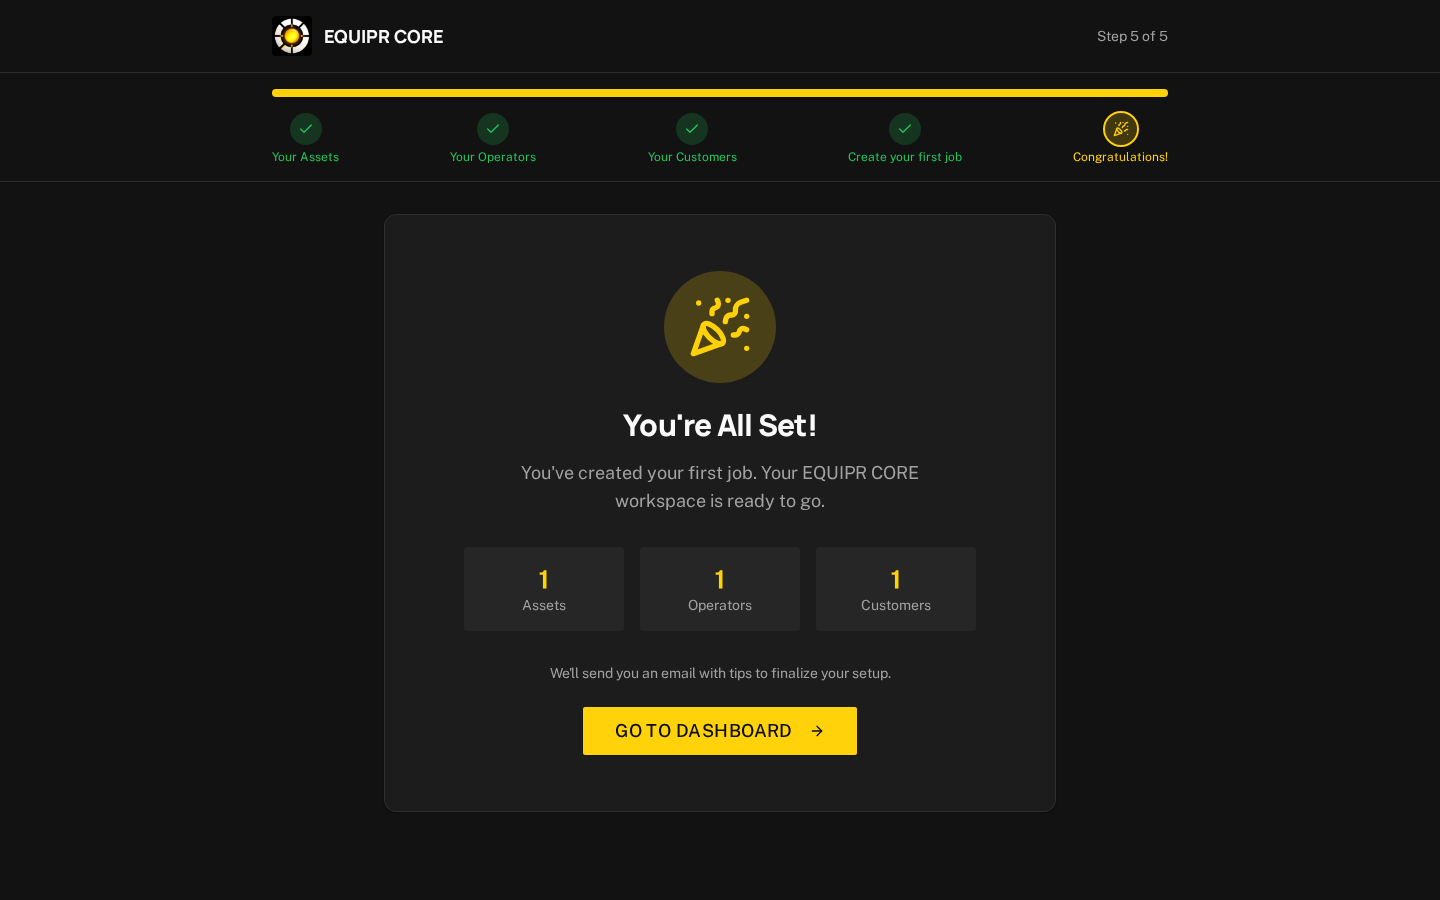
A summary shows the assets, operators & customers you created.
A setup-tips email is sent to your inbox.
Click GO TO DASHBOARD — you'll land on the Getting Started checklist, then your workspace.
Your free trial runs for 14 days. Finish configuring your workspace whenever you're ready.